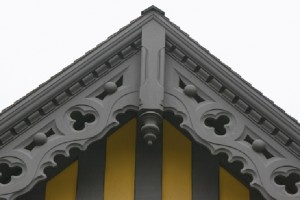
We’ve previously discussed the 7 steps to painting fascia and bargeboards. We also wanted to provide some best practice methods for applying the paint. Paint application is important in order to achieve a smooth, uninterrupted finish that shows off your finish in the best possible light.
The following are painting techniques that have helped us professionally preserve our bargeboards and fascia for decades.
Tip #1: Try to Paint the Entire Section at Once
When painting, every time you stop and start mid section, you’ll end up with noticeable stop/start marks on the face of your bargeboards or fascia. Try to get the entire section painted evenly in order to achieve an even finish. Speed is important here, but try not to sacrifice the quality of your work.
Tip #2: Paint The Under Edging First
When you paint the under edging first, you avoid smearing painting that you’ve already completed. When painting, you can use the joins as stop-off points. Just make sure that you’ve completed the entire under edging before you begin to paint the face.
Tip #3: Painting the Face
Next you’ll paint the face. The best way to do this is to get a full brush of paint and slowly spread it out in the middle of the face. Next, cut in the top edge of the face. Spread the paint around, making sure to lay it off evenly.
Tip #4: Painting the Bottom Section
On the bottom section it’s best to use a cross hatch brush pattern to avoid dragging paint on the under edge. Using a cross hatch stroke, paint the bottom section and lay off any excess.
Hopefully this has given you a quick and easy blueprint for painting your fascia and bargeboards. Alternatively, you can also use these steps to apply wood stain.
For more information on roofline solutions, or to schedule your next project, contact Summit Cladding today.